一、硬件介绍
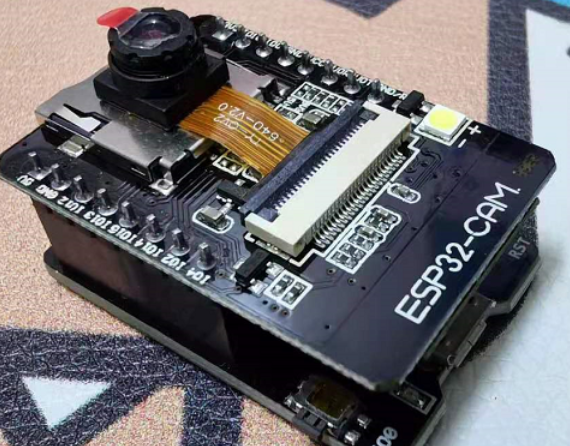
淘宝买的,底板跟了个ch340芯片,接上microusb,就能将Arduino IDE烧录到里面。
二、开发流程
1. 准备
1.1 Arduino IDE的附加开发板管理网址:
1
2
3
4
https://www.arduino.cn/package_esp32_index.json
https://dl.espressif.com/dl/package_esp32_index.json
https://arduino.esp8266.com/stable/package_esp8266com_index.json
https://raw.githubusercontent.com/espressif/arduino-esp32/gh-pages/package_esp32_index.json
1.2 安装:工具 -> 开发板管理器 -> esp32。

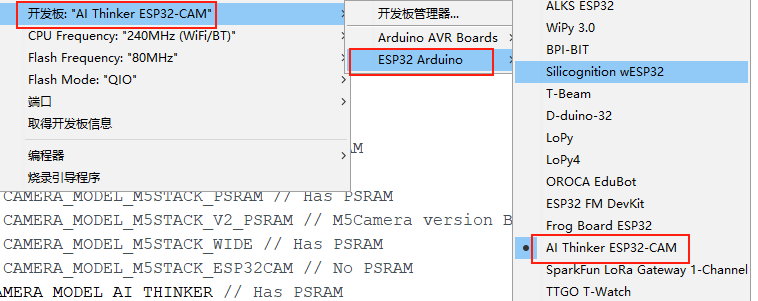
1.3 选择开发板:
2. 程序
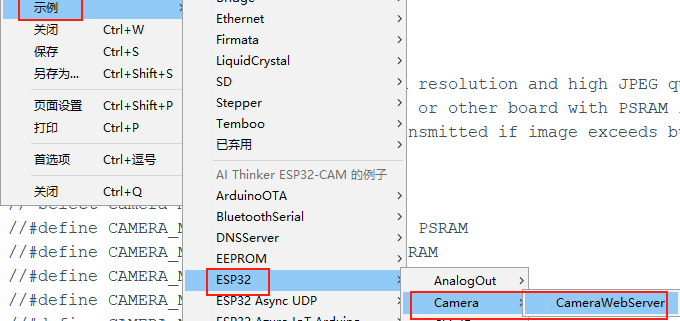
改动:

3. 烧录和运行
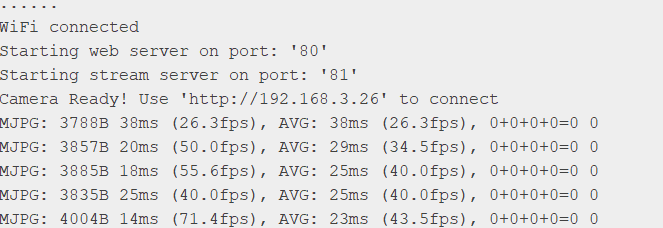
串口会打印摄像头的ip地址。
4. 界面
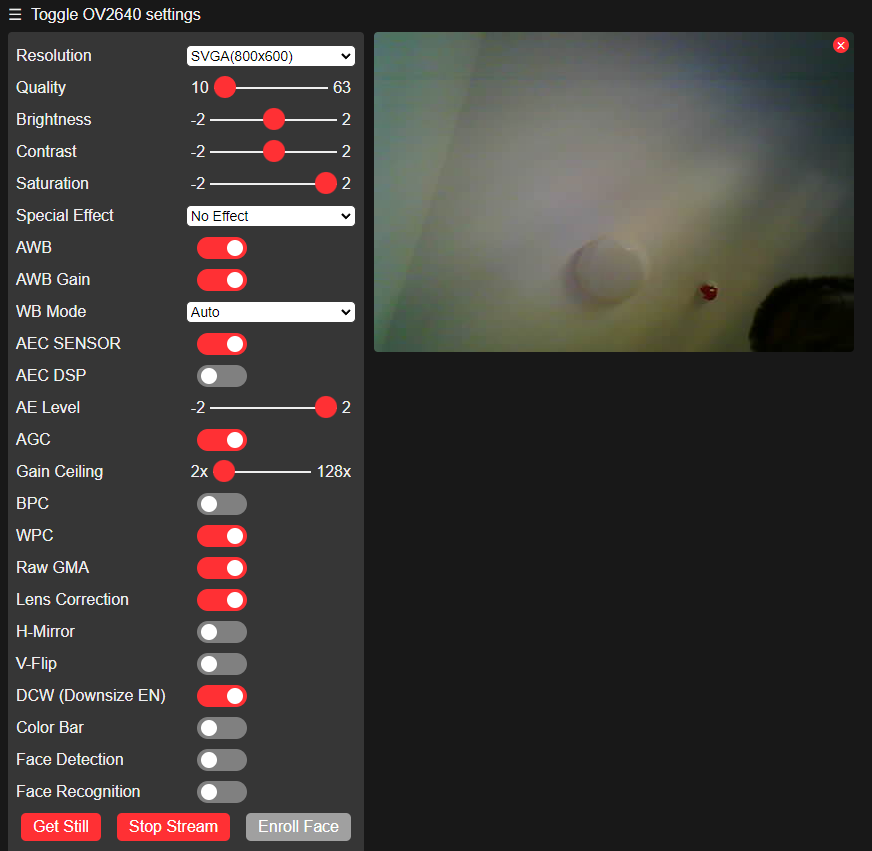
5. 程序调用
1
2
3
4
5
6
7
8
9
10
11
12
13
14
15
16
17
18
19
20
21
22
23
24
25
26
import cv2 as cv
from Config import Config
import requests
class Config:
    def __init__(self, ip_addr="192.168.3.26"):
        self.cam_ip_addr = "http://" + ip_addr
    def get_stream_addr(self):
        return self.cam_ip_addr + ":81/stream"
    def set(self, var: str, val: int):
        content = self.cam_ip_addr + f"/control?var={var}&val={val}"
        r = requests.get(content)
        if not 200 == r.status_code:
            print(f"设置{var}为{val}失败。")
c = Config("192.168.3.26")
c.set("framesize", 10)
c.set("brightness", 2)
c.set("contrast", 0)
c.set("quality", 10)
#c.set("face detect", 0)
capture = cv.VideoCapture(c.get_stream_addr())
while(True):
    ret, frame = capture.read()
    if ret:
        cv.imshow('frame', frame)
    if cv.waitKey(1) == ord('q'):
        break